Arrowat Label Creator Quick Guide
This document explains how to use Arrowat Label Creator, the elements and tools it has to design labels or large signs.
Arrowat Label Creator has been developed to help anyone who want to create shipping labels, sign, graphics styles, industries where it can be used are,
Super markets for pricing products, Post office for shipping labels or envelops, stickers, etc we have developed it as completed
label creation software, any text and image element can be moved around the surface design, you can also use the Ink Drawing tools
to design frames, graphics using pen or mouse and quickly add it to the label you are designing. Creativity matters
Installing Arrowat Label Creator from Microsoft Store
The first thing we need to do is install Arrowat Label Creator, to install the app go to https://www.microsoft.com/store/apps/9NQBZLSLG6BP
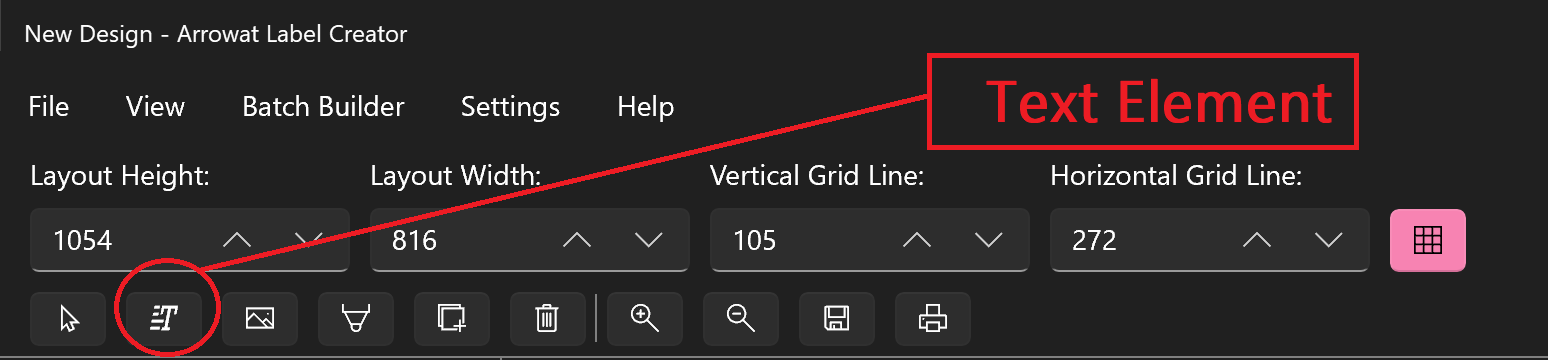
Text Element
Text Element is one of the main tool that makes the design purpose, you can add many text elements as you need. Text Element can be customized on many factors, like Foreground, Font Family, Font Weight, and the most great, it can be exapnded height and width without altering the size and location where it is placed.
The following properties are used by Text Element.
-
Element For
Is used to indicate the purpose of the text element used when you use the design as template in the Batch Builder -
Element Name
The name of the Text Element. -
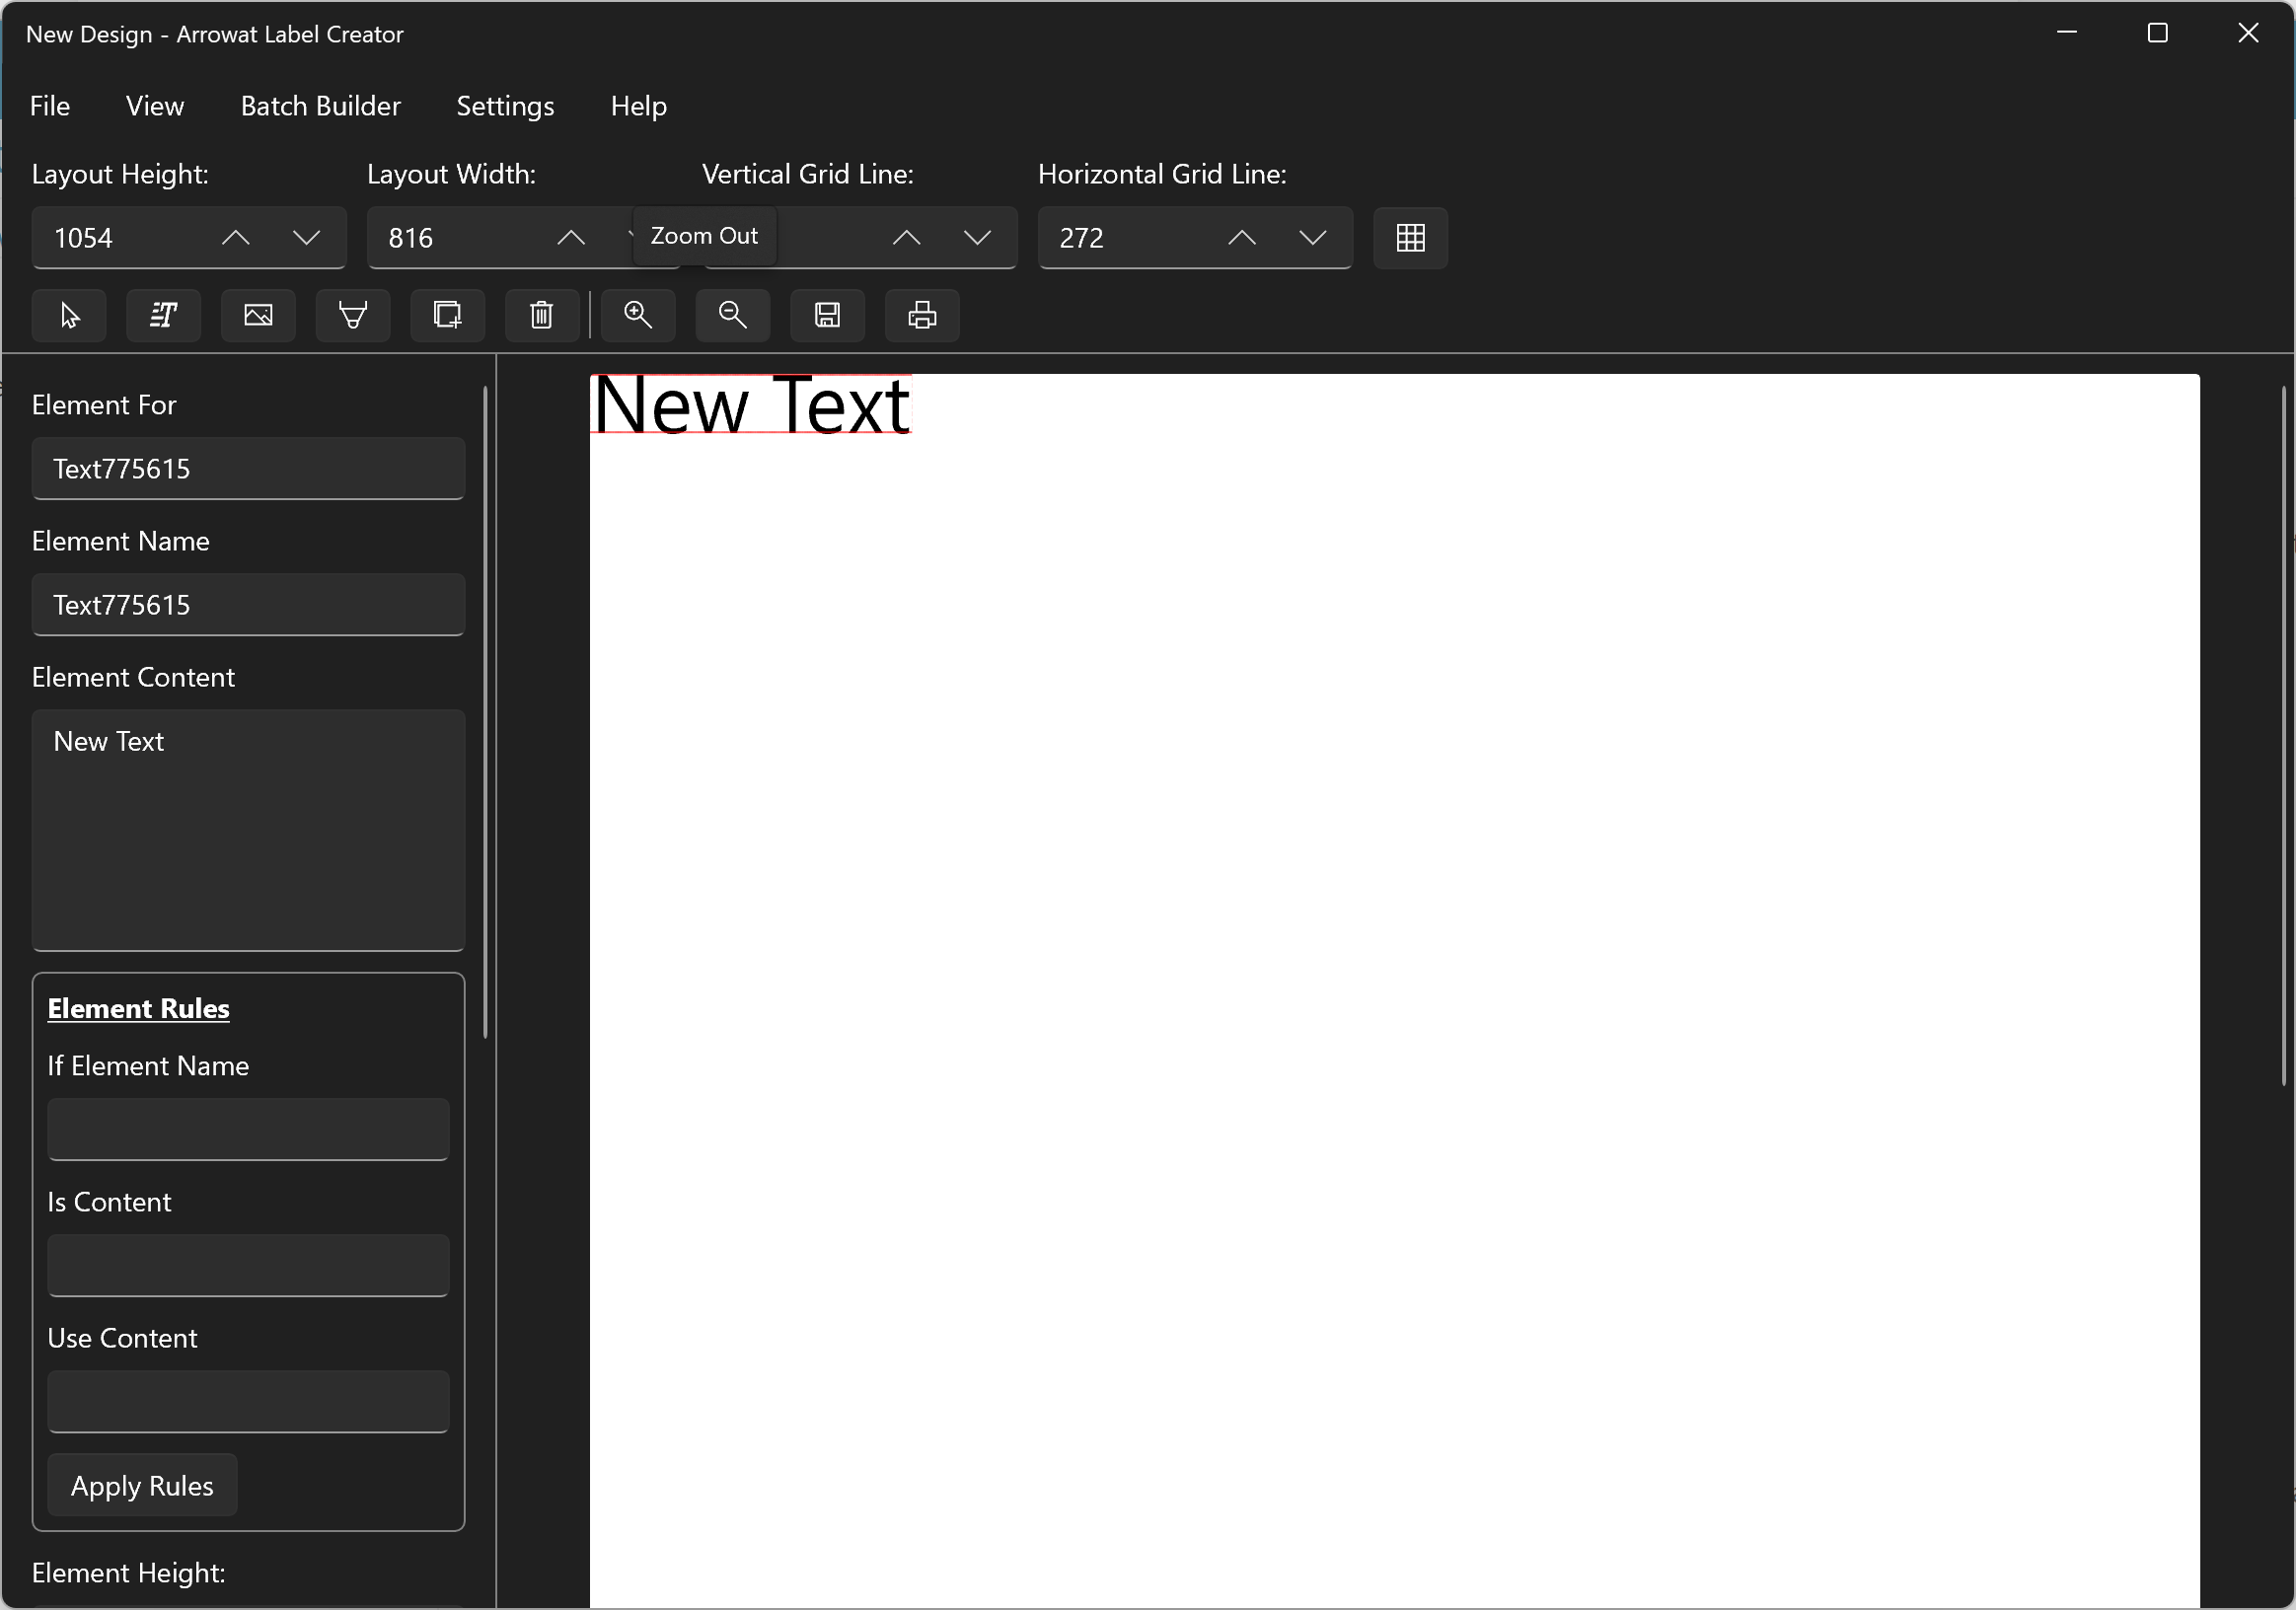
Element Content
The element content on text element is the text. -
Element Rules
Element Rules are used when you use the design as template in the Batch Builder it compares the Element Name content you set on Is Content and if the content is the same on the element name content, the current element selected changes it content to Use Content. You will learn more on the Batch Builder documentation.
Example:
If Element Name Text415563
is Content Hi,Hola
Use Content Hello
- Element Height
- Element Width
- Element Top
- Element Left
- Element Font Family
- Element Foreground
- Element Font Weight
- Element Style
- Element Underline
- Element Text Align Center
- Element Text Align Left
- Element Text Align Right
Adding and customizing Text Element
Adding Text Element is easy, the following stepts explain how to style and customize the text element.
-
From the top bar click the Grid Lines button to hide the grid lines from the design page.

-
From the top bar click the Text Element button, the text element will be added to the design page
- Click on the Text Element and with the left button of the mouse keep it pressed and move the text element to center of the page.
-
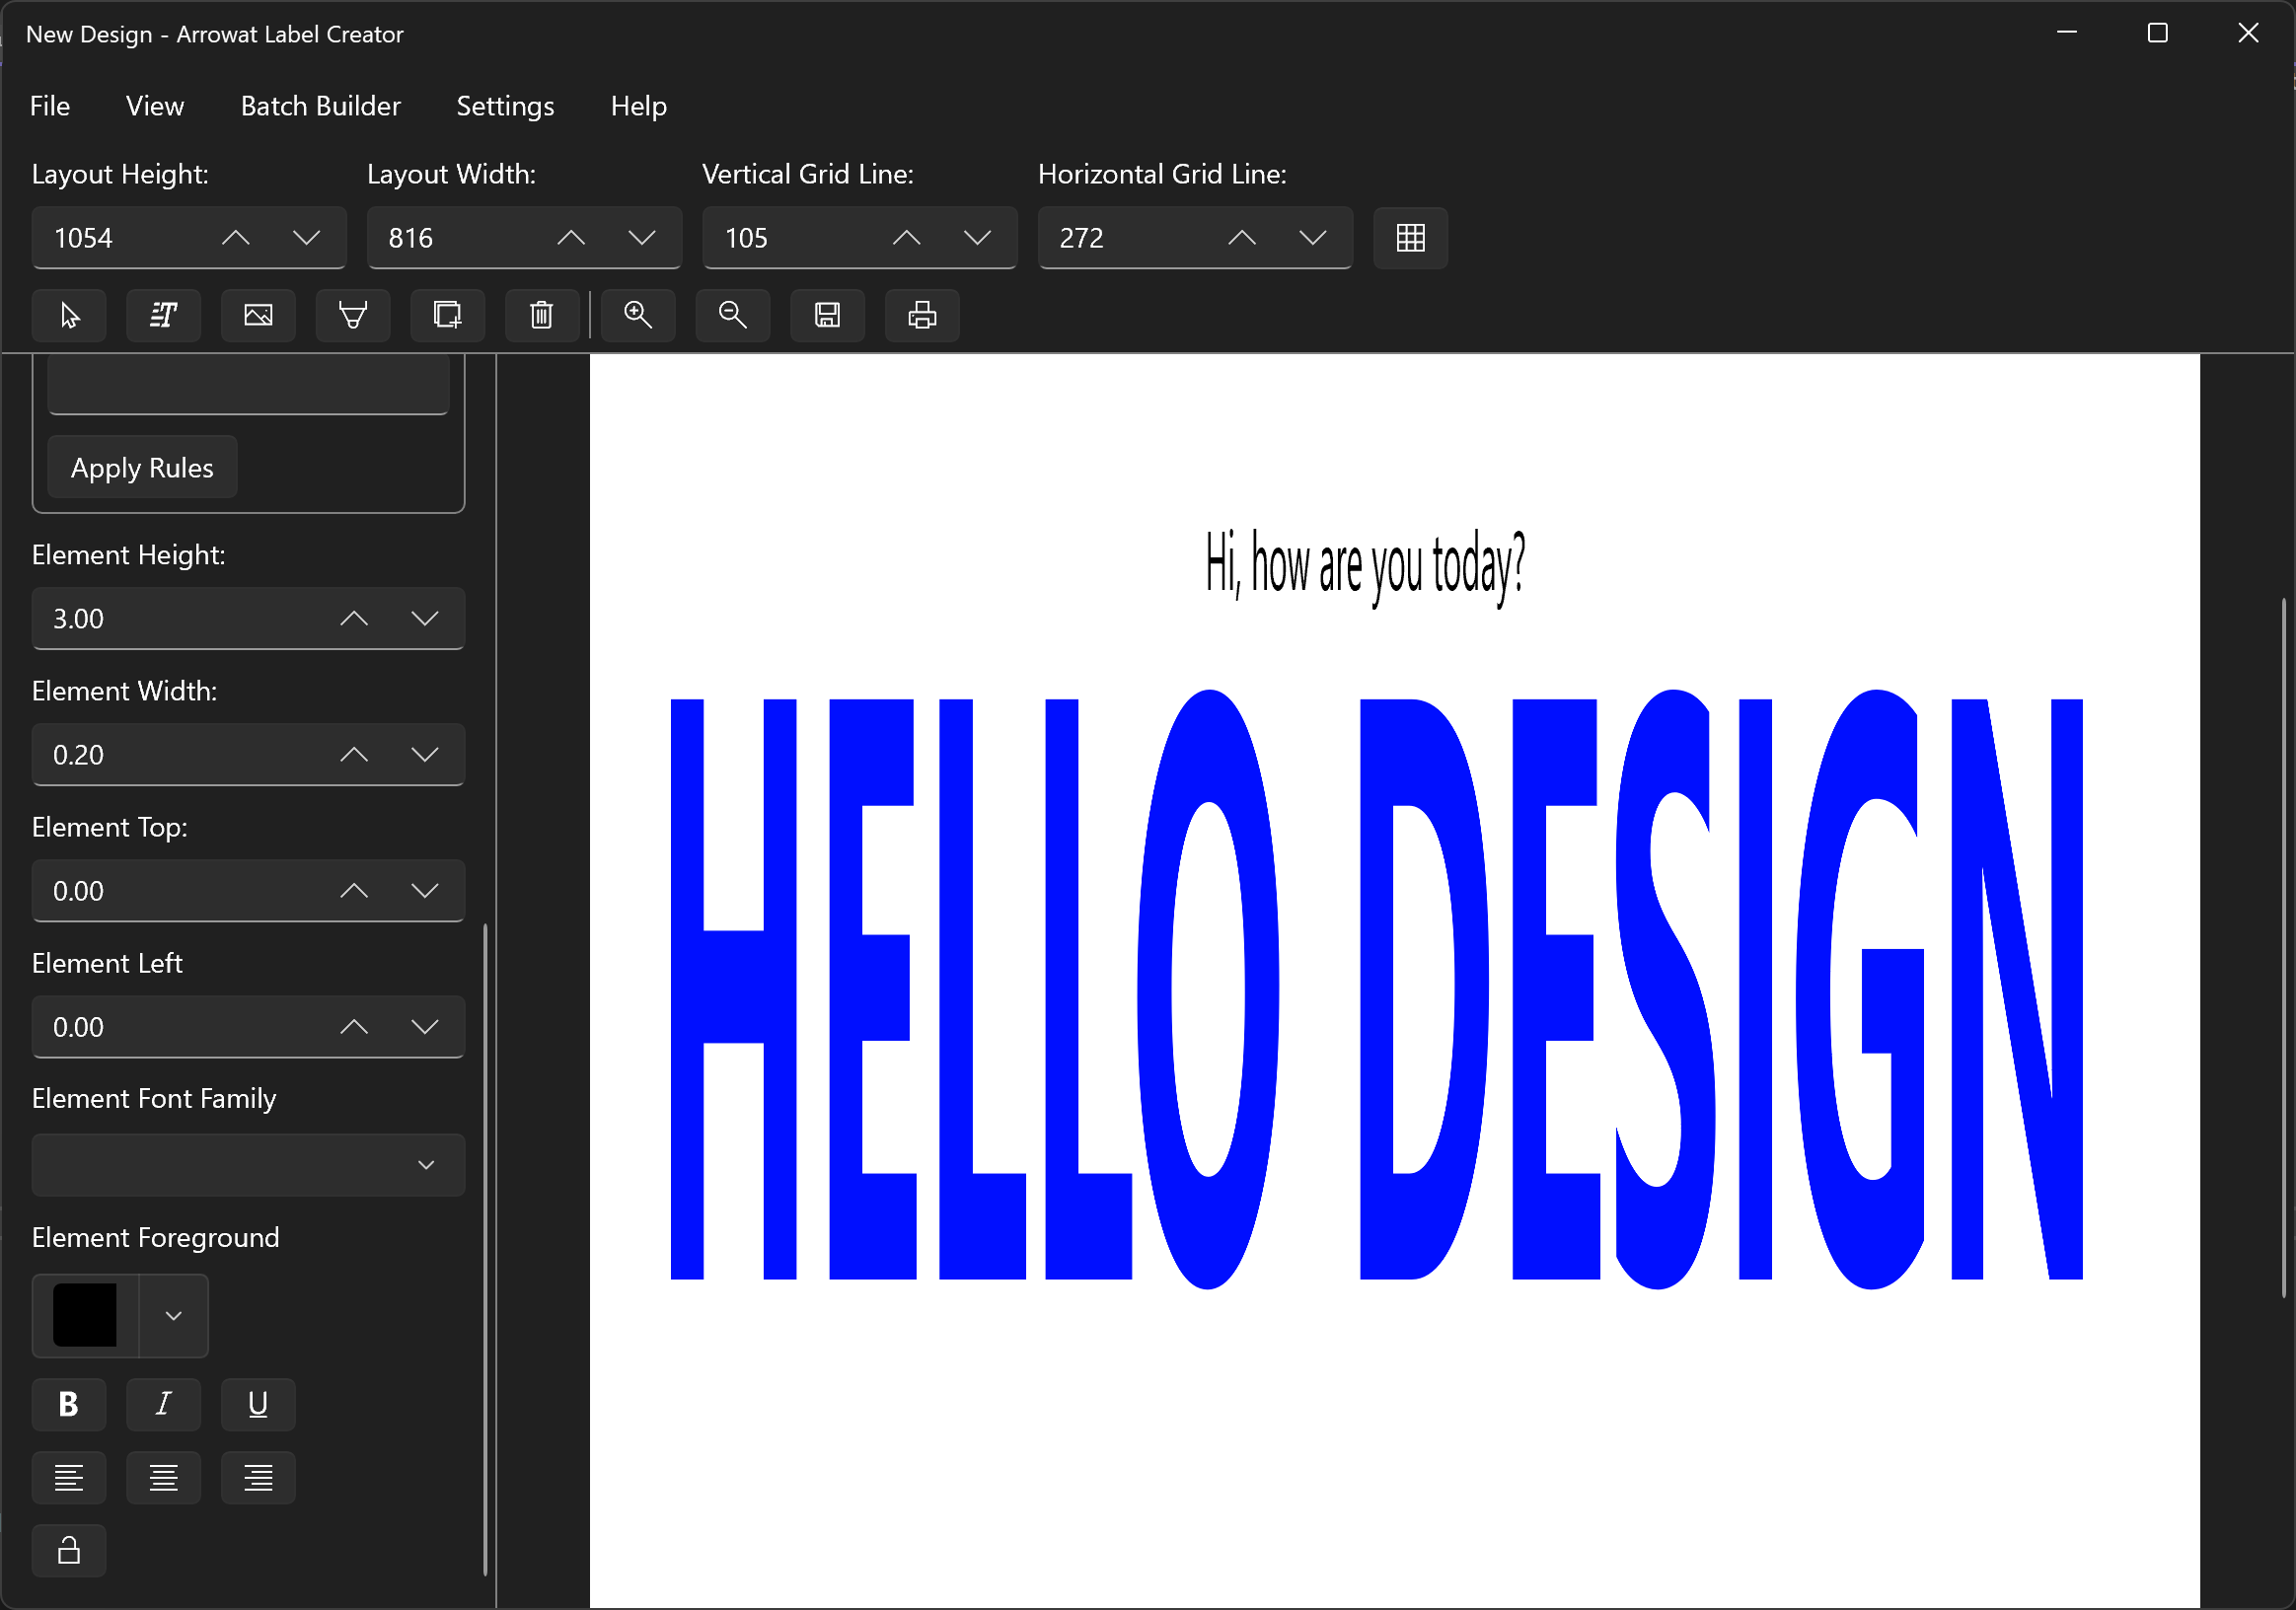
Change the text content to Hi, how are you today? you will see that the element keep it position width and height.
-
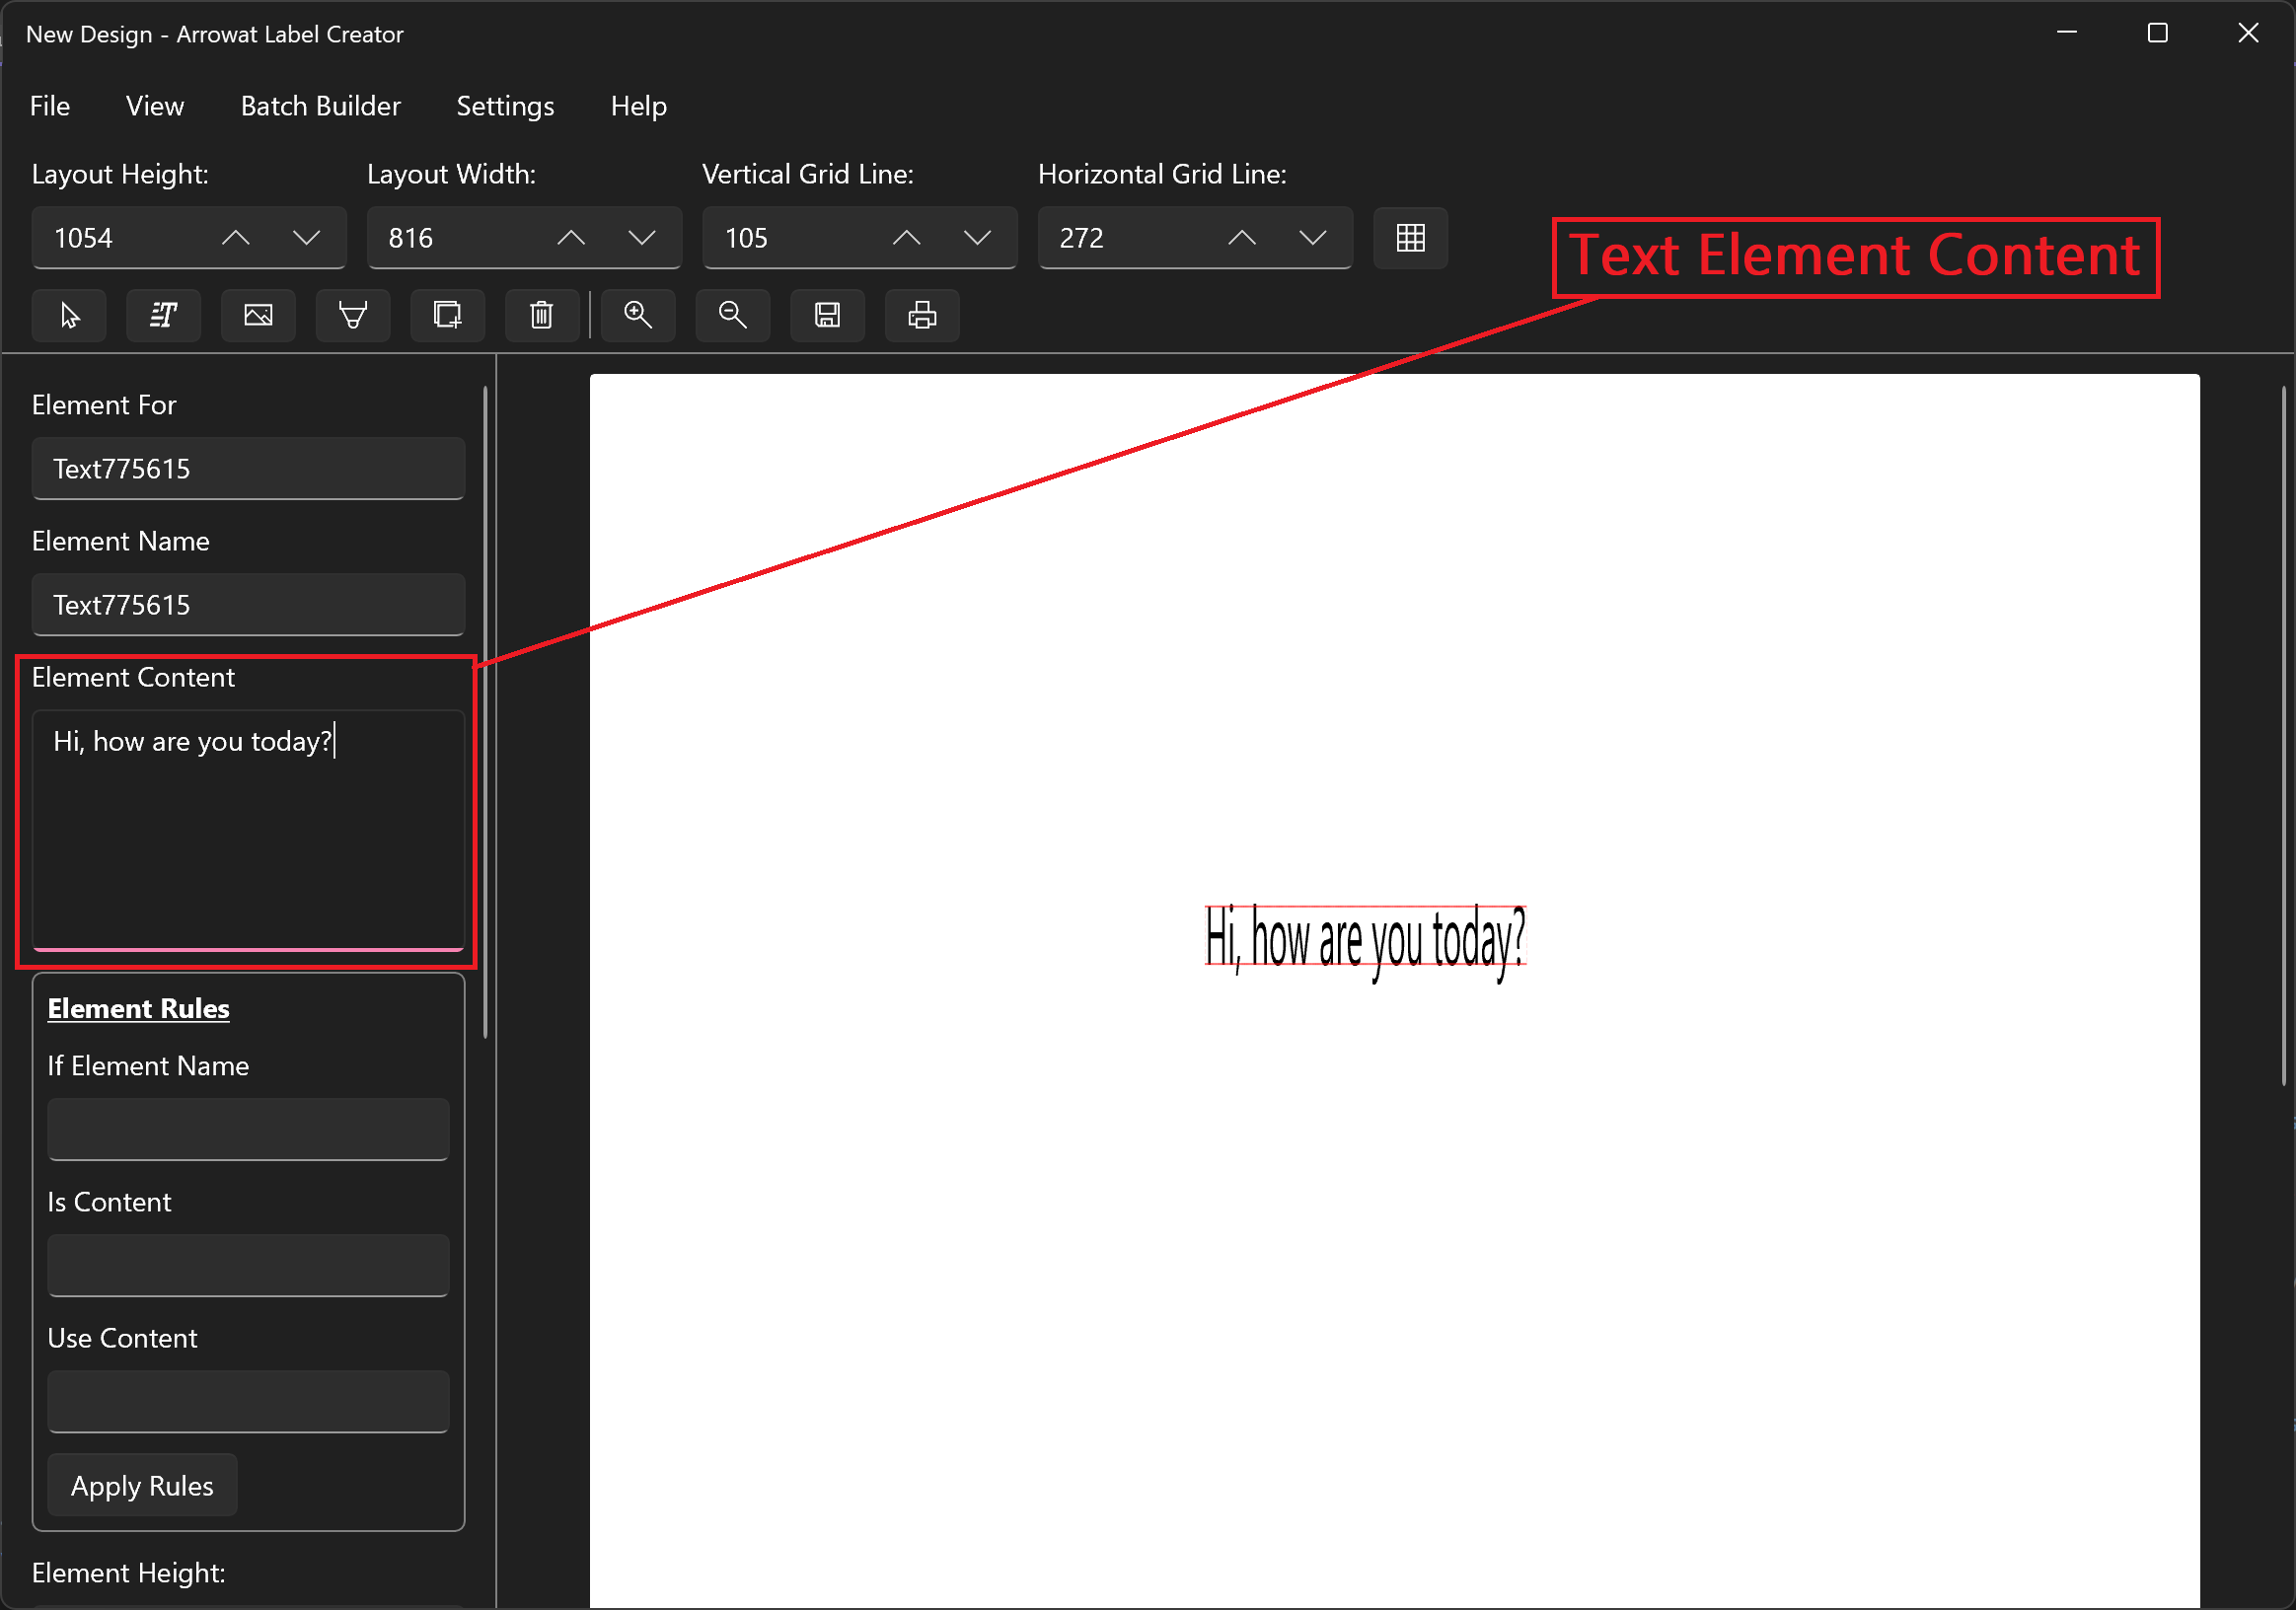
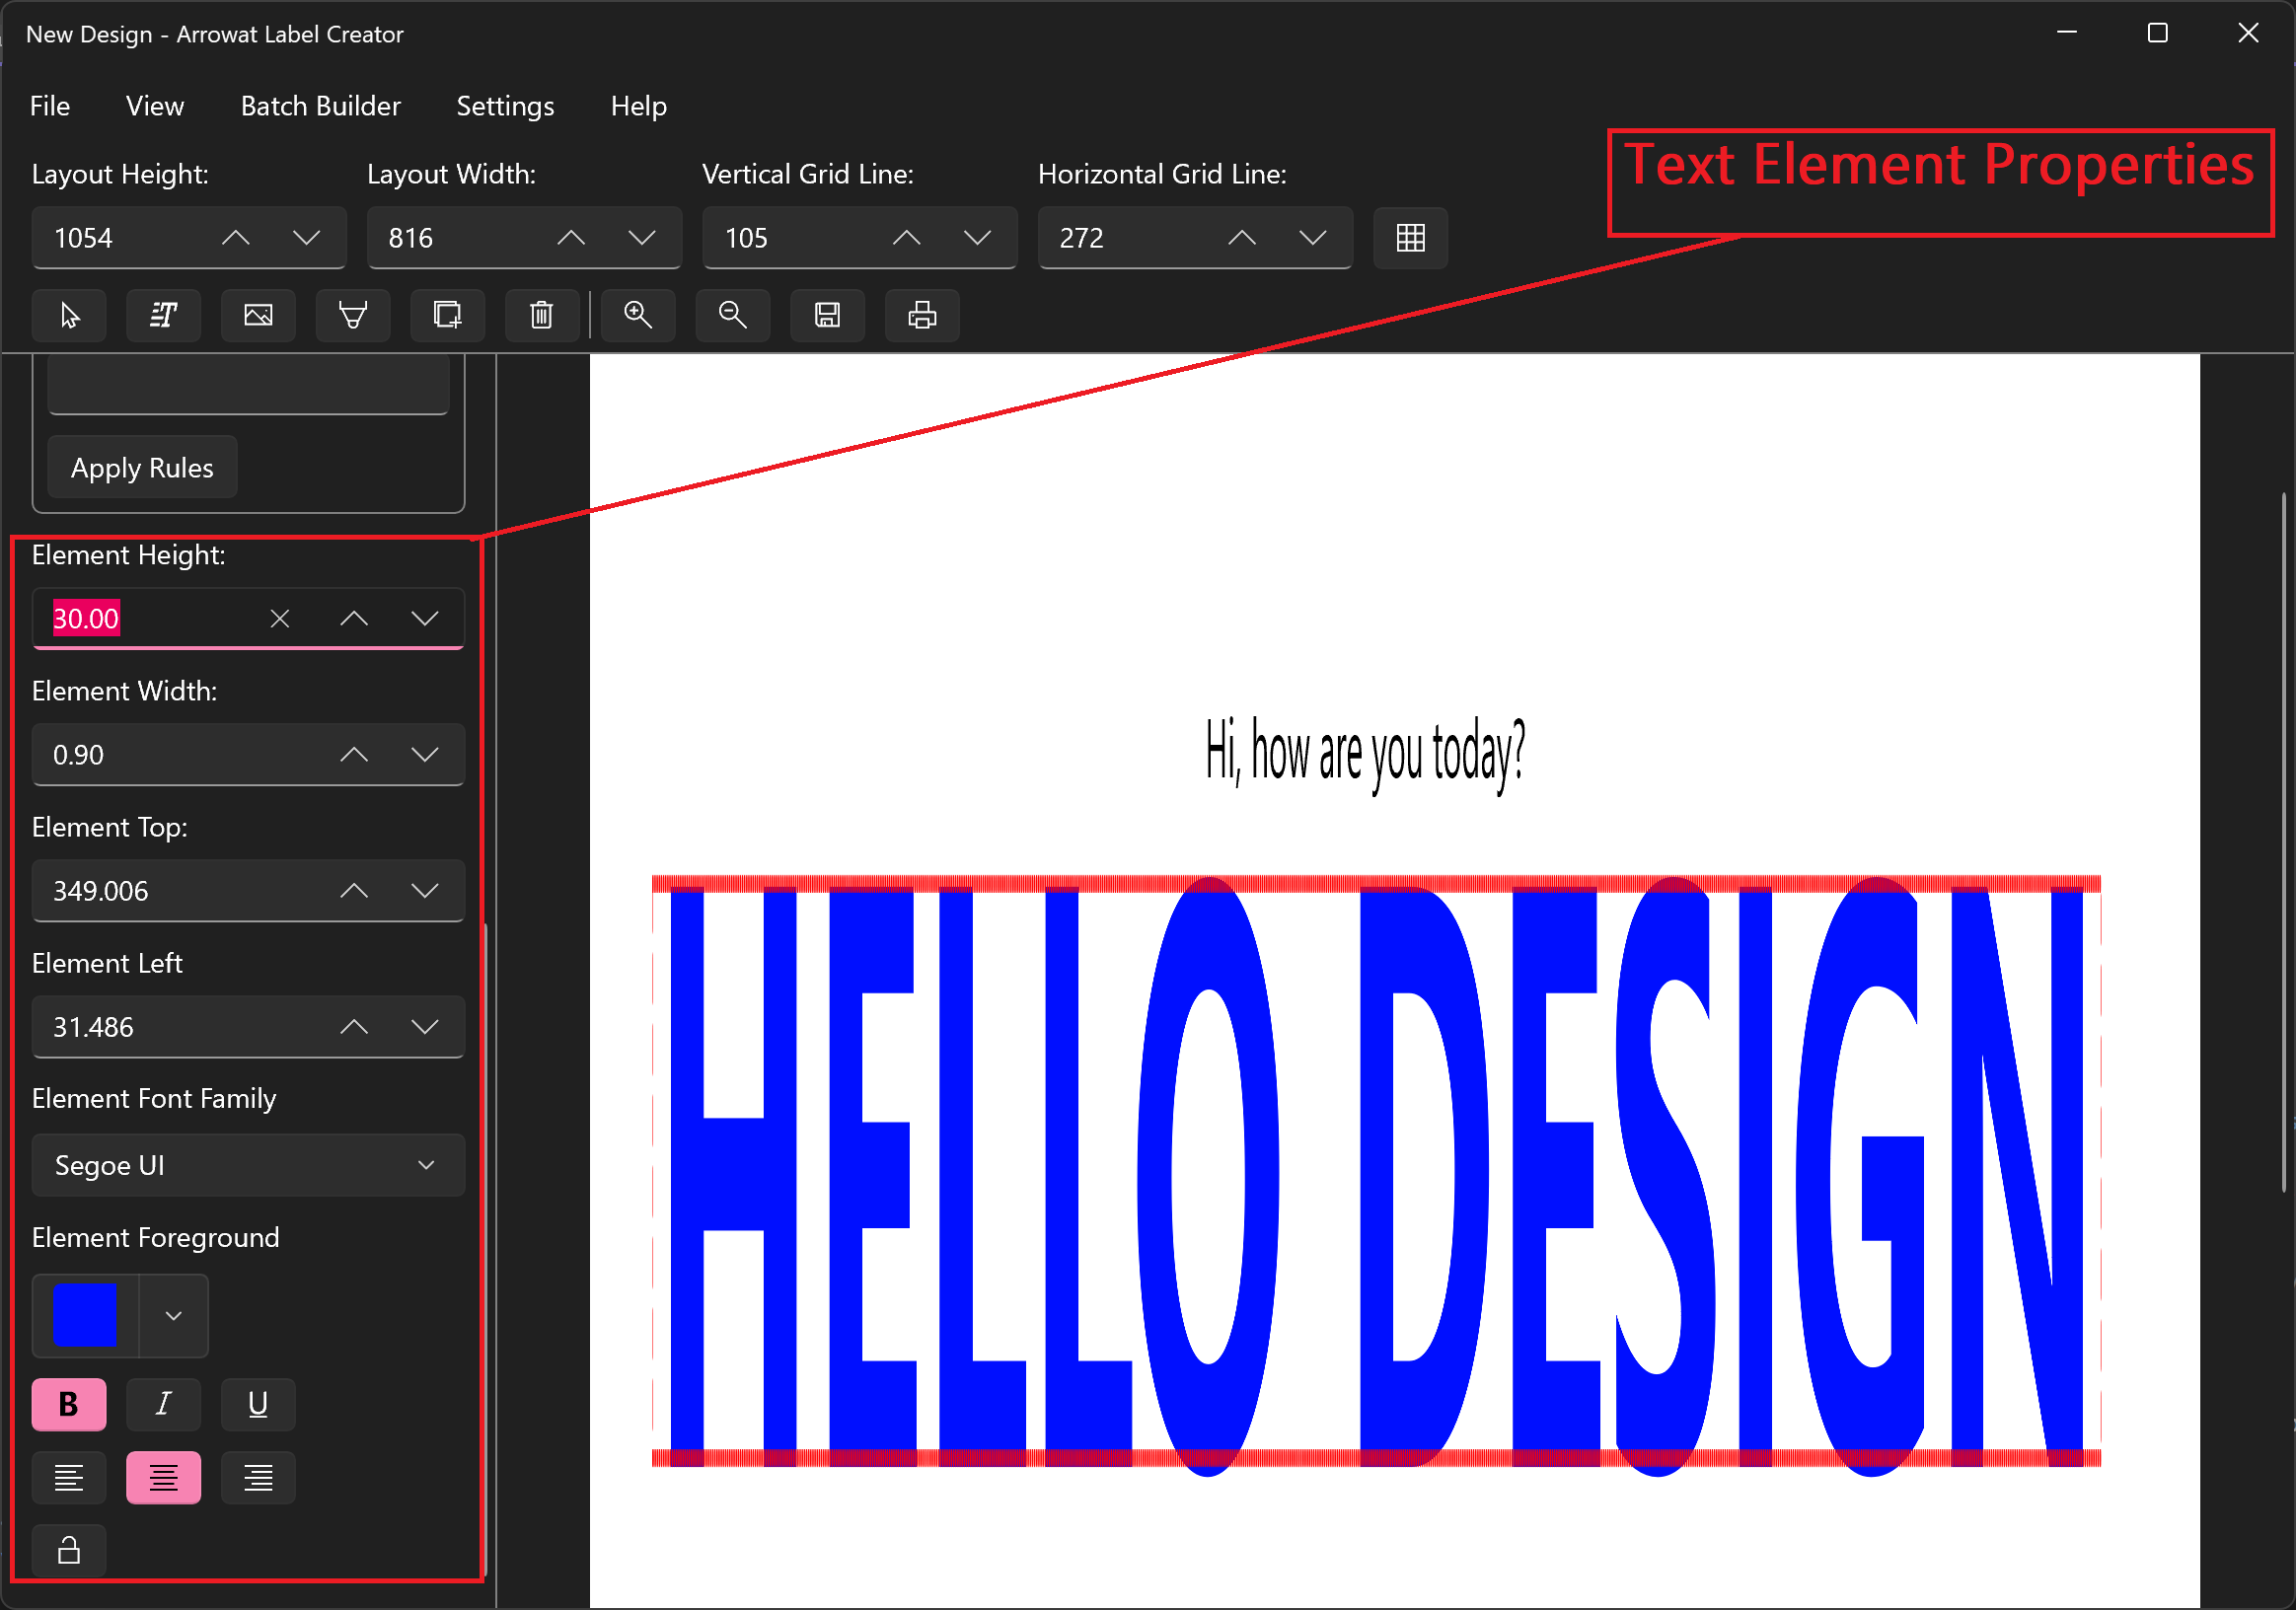
Add other Text Element and change the text content to HELLO DESIGN
move and place it under the previous Text Element you added. Change the following properties value
- Element Height: 30.00
- Element Width: 0.90
- Element Top: 349.006
- Element Left: 31.486
- Element Font Family: Segoe UI
- Element Foreground: Blue
- Element Font Weight: Bold
-
From the top bar click the Pointer Element to unselect the Text Element

Text Element can be customized ans you like, keep playing around it by changing the properties, move the element to the place you want.
Image Element
Image Element helps you to add images to the design to give a better design representation, Image Element can be customized on many factors like height and width without altering the location where it is placed.
The following properties are used by Image Element.
-
Element For
Is used to indicate the purpose of the Image element used when you use the design as template in the Batch Builder -
Element Name
The name of the Image Element. - Element Height
- Element Width
- Element Top
- Element Left
Adding and customizing Image Element
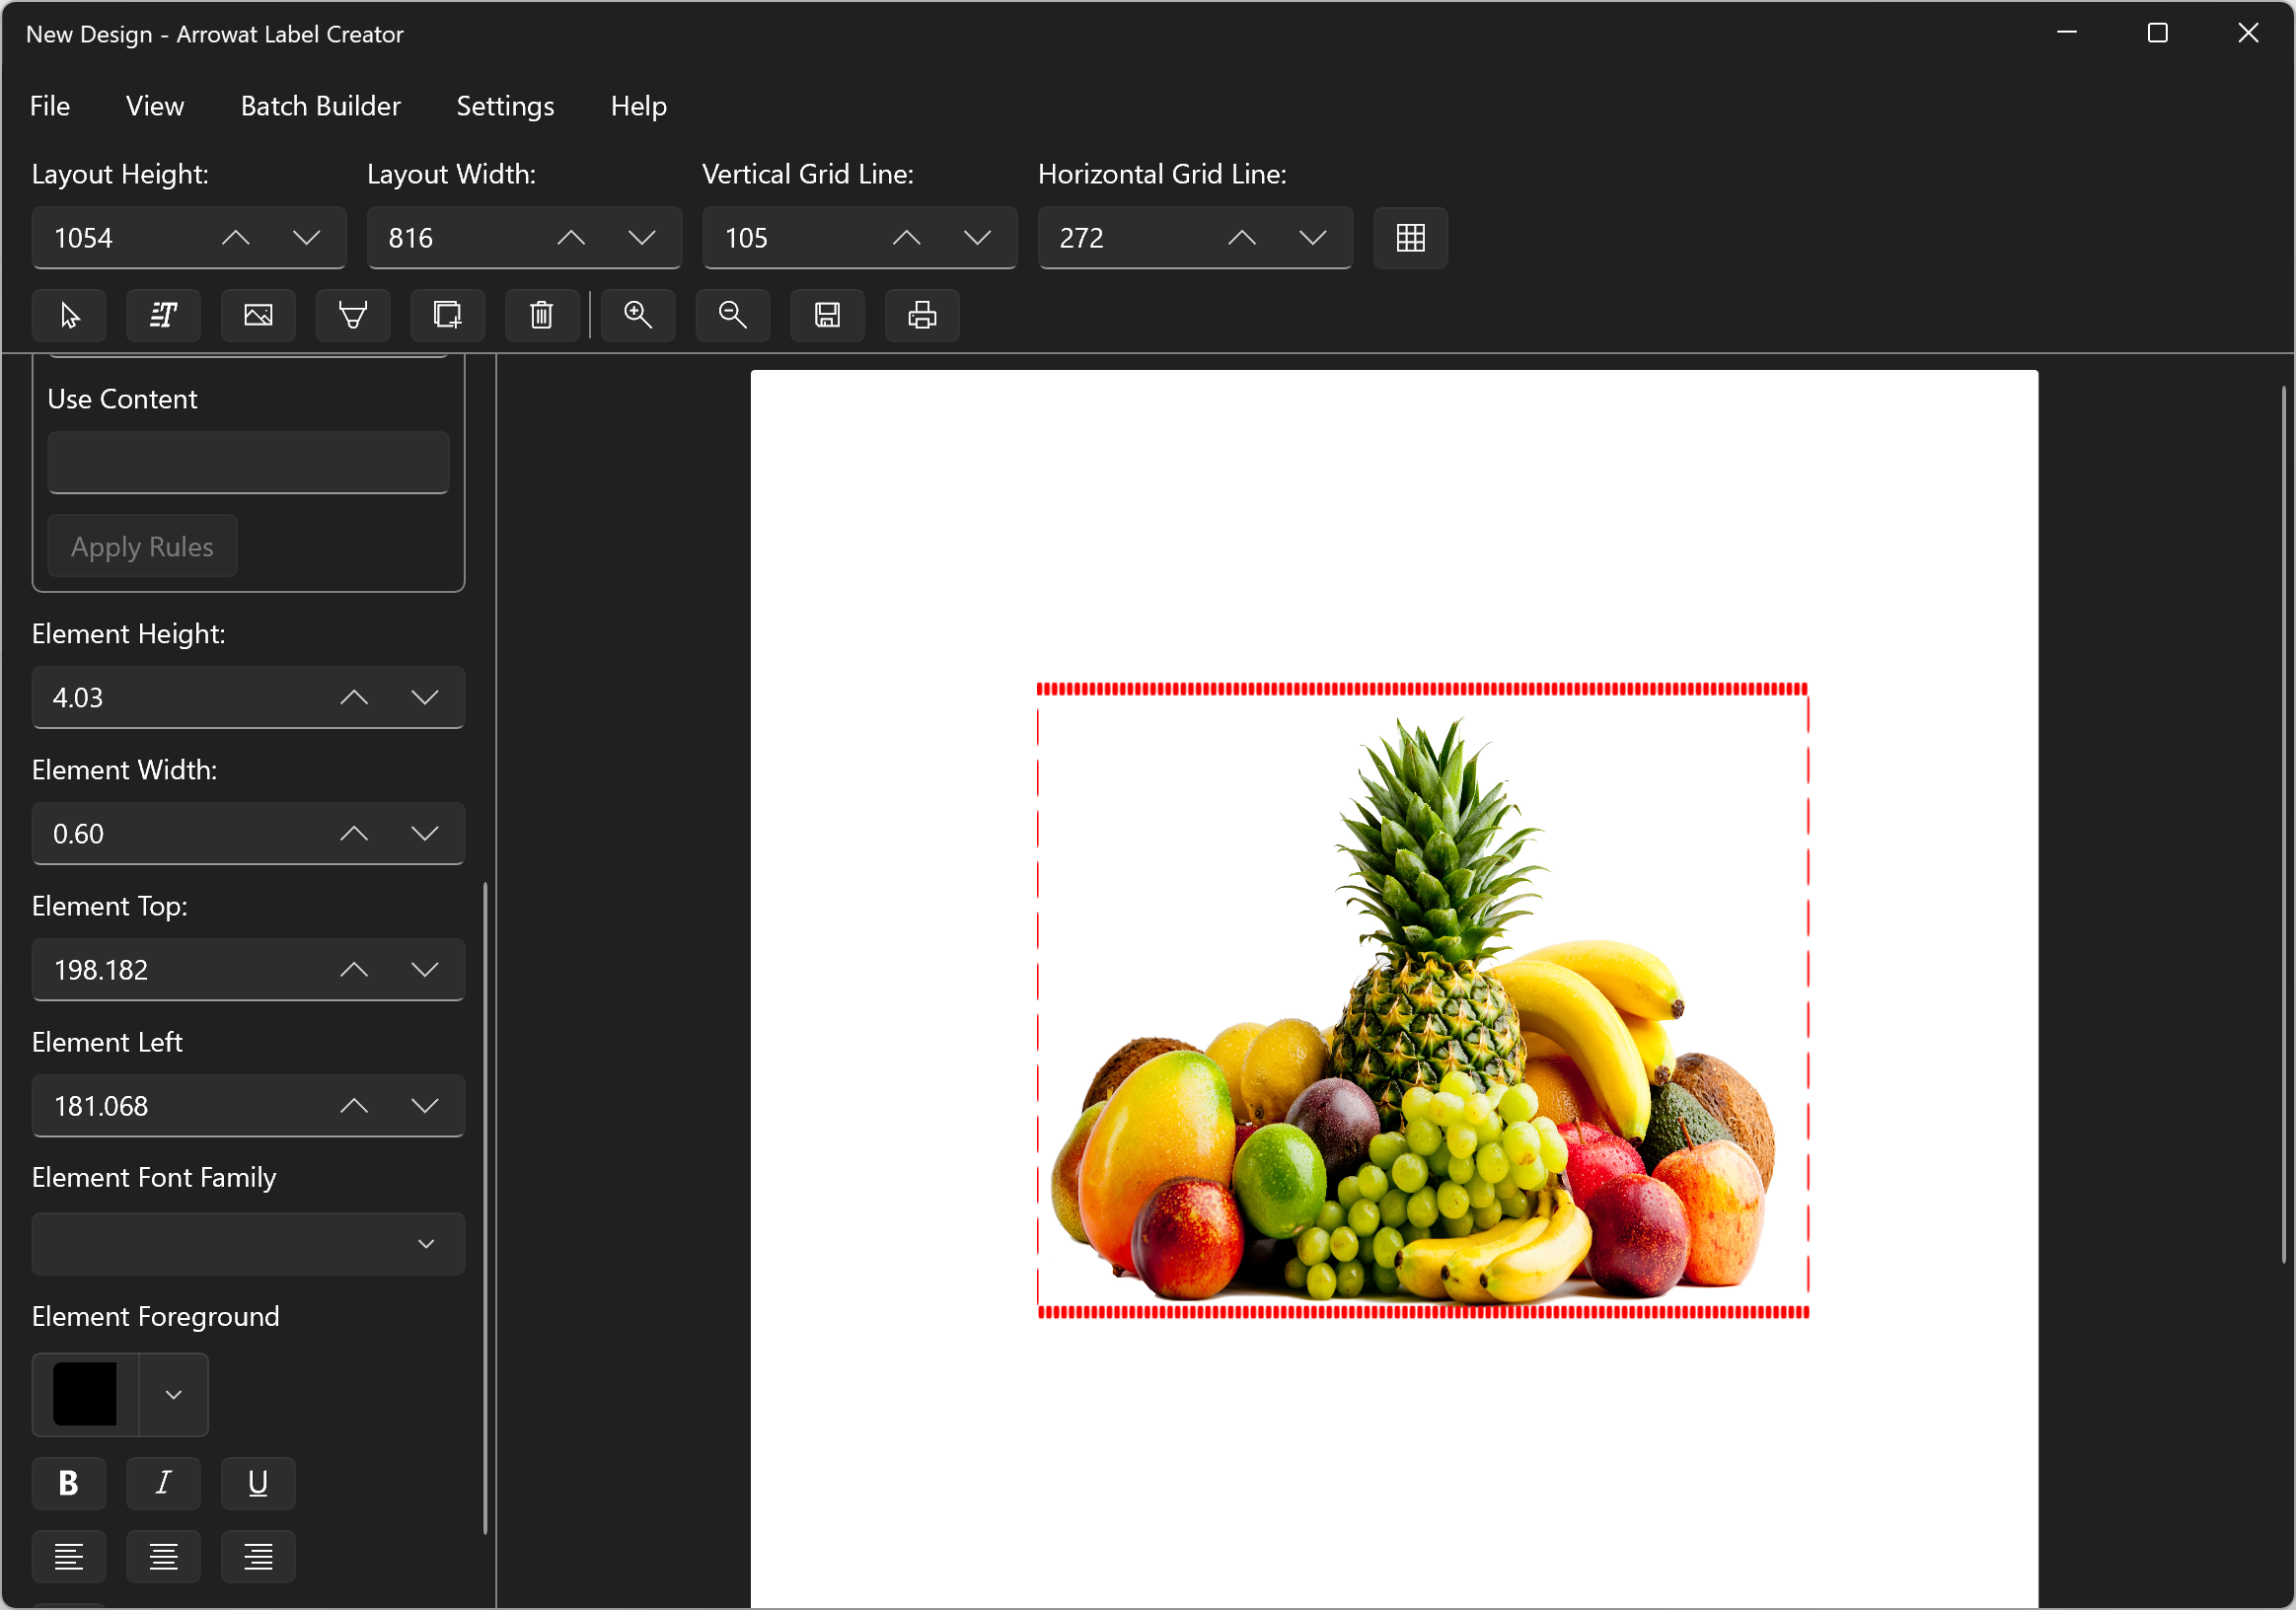
Adding Image Element is easy, the following stepts explain how to style and customize the image element.
-
From the top bar click the Image Element button, select an image from your computer and click open, the image element will be added to the design page, move the image to
center page and adjust the Height and Width properties.

-
From the top bar click the Pointer Element to unselect the Image Element

In this quick guide we show you how to use Arrowat Label Creator, how to add Text Element, Image Element and how to change the design propeties value, Keep playing around what you learned today.
If you have any question you can Contact us any time.
About the author
Melvin Dev
This documentation has been written by Melvin Dev, Melvin Dev is a founder and developer of Arrowat LLC.